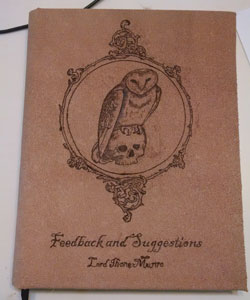
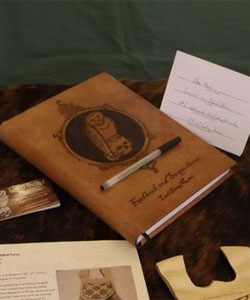
Lord Ihone Munro, AS XL
Projects Completed November, 2015
I decided that I wanted to do something a little different for my feedback journal, after all, there was no reason not to. There was a competition for Phoenix Eye this year that was a roll of the dice, so I figured that I’d give it a shot.
I rolled embroidery.
A leather guy.
Doing embroidery.
So, in my head, I figured what a perfect way to get out of my comfort zone. Until my silly self decided to try and embroider – on leather. That’s right, one of the cardinal rules about to be broken, don’t try and embroider on leather.
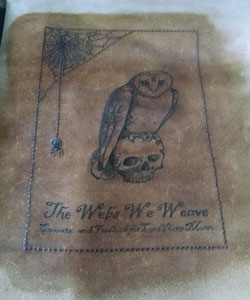
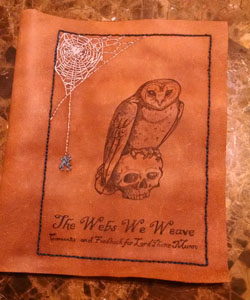
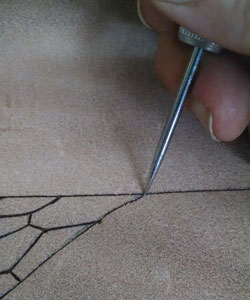
Now, leather needs to be stitched, right? So why, pray tell, not try and embroider on it? Quite simply – leather doesn’t have those nice little pretty spaces between threads in which a needle can actually fit. So you poke holes. Lots and lots of holes. I completed this personal challenge for myself (as I wasn’t able to make it to the event after all), and I’m rather glad that I did. I blended some pyrography into the piece to give some extra flavor to the look of it, and only broke through the spacing between the punched holes about six times total.
The process here was actually rather simple. I first burned in the overall look with my pyrography pens. After the pyro was complete, I went back and punched holes with an awl in as equal a spacing pattern as I could. For the web pieces, I punched into the intersections of the web to get as tight as I could. After the punching was complete, I went back and stitched in the border using a running back stitch, then stitched in the web and spider.
Overall I was relatively happy with how it turned out, but the cover itself didn’t fit the book that I had as well as I would have liked. I also wanted to try a different design, so I cut out the front cover (for posterity) and started again a couple weeks later.
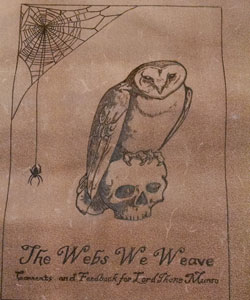
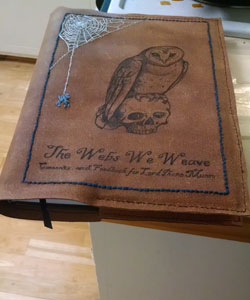
For the new cover, instead of trying to trim down the cover and try to stitch it on, I decided to go ahead and glue it down prior to doing any of the pyrography on it. I tailored the leather down and fixed it using contact cement, giving it a more molded feel so that it felt like a part of the book instead of just a cover. I then glued down the first and last pages to the leather on the inside of the covers so that it covered up the seams. Doing this gave a more uniform finish that I was much more satisfied with.
Additionally, to transfer the pattern that I designed in Photoshop more accurately, I printed with my ink jet printer onto butcher paper (the waxy side, so the ink did not sink into the paper). By printing the image inverted, then placing the paper down on the leather, it gave me a faint guide to go by, making it look much more finished in the end. Once again, I used my pyrography pens and had an absolute blast doing it.
Now I have a unique book for folks to write comments and suggestions back to me with!
