Completed March 23, 2017, Based upon early 16th Century armor practices
The use of dogs in modern conflict is not a new practice, even with the K-9 service dogs that are currently deployed in overseas combat zones. Though the armor has become more sophisticated, it draws its origins from period practice. Though the first mentions of armor on dogs is sometimes attributed to first being mentioned during the Roman Empire, there is certainly more supporting evidence that exists for its use on the fighting dogs from the later 15th century forward.


The common thread between existing notations on armoring dogs seems to be that of their two legged counterparts. Armor utilization would have persisted in a combination of metal, leather and/or cloth. By accounts that I have reviewed, the armor would also likely match that of their owner so that they could highlight the splendor of their dogs in addition to taking them hunting or to war. With that in mind, I set out to make armor specifically for the purpose of display on my new puppy in order to highlight Her Majesty’s arms in honor of Her first reign.
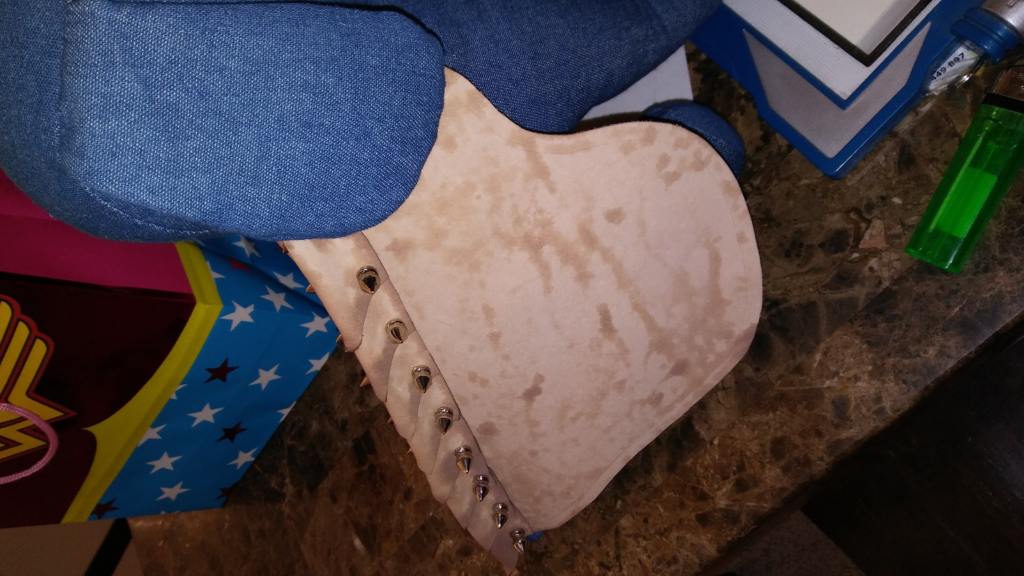
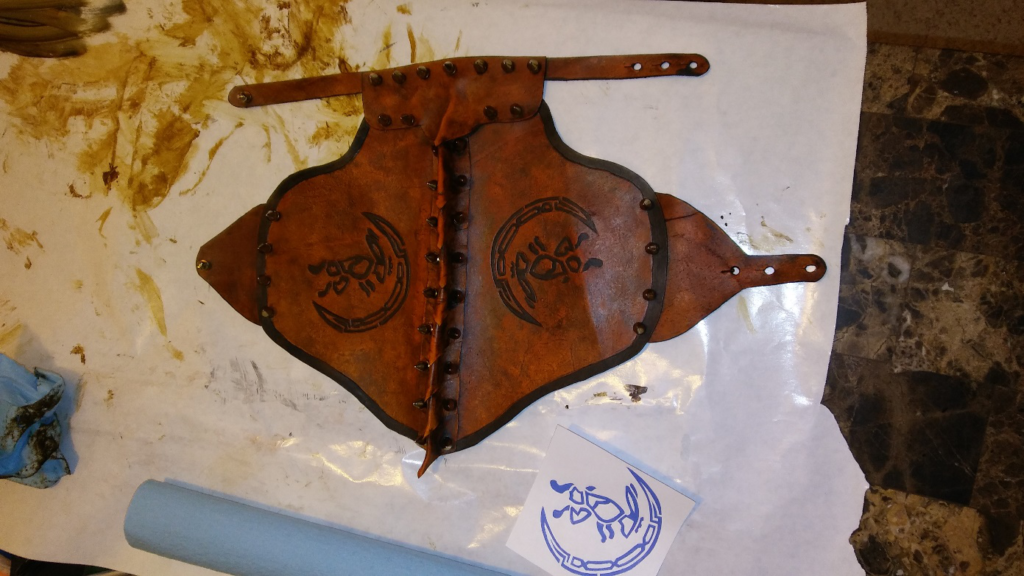
The body is constructed of a single panel design in order to give the coverage to the body that is found in the first figure in the illustration, but modified slightly in order to better fit the belly of the puppy. I then utilized the basic v shapes as seen in the second figure for the spine to increase the flexibility and overall movement. The spine articulates are attached with spiked rivets, in order to implement some of the design pieces of the third example. After the pieces were assembled, I added a collar piece with an enhanced spacing so that it would accommodate a leash connecting to the puppy’s regular collar.
Since this is a scaled down piece, I did choose to use a significantly lighter weight leather than normal. This reduces the strain on the puppy as he grows, since Mastiffs are known to have joint issues. I didn’t want to irritate any potential problem areas of the puppy’s development, even though he would only be in the armor for a short time. The tooling process involved “carving” the design into the leather using a swivel knife, prior to embossing the design. On thinner leathers especially, this helps the tooled areas to be a little bit better defined as well as reducing risk of the design “falling out” when re-casing the leather during the tooling steps. The finish was done using a heavier than normal application of antiquing stain, then highlighting the tooled areas using a water based stain to employ the darker blacks. To seal the piece, I used a lacquer finish to render it water and scratch resistant.


