Mid-16th Century laminated leather box, AS LIII
Techniques and Materials Used
- Veg tanned cowhide, cut, molded and tooled
- Hide glue, beeswax/lanolin conditioner
- Hand stitching with waxed linen thread
- Home-made nut husk dye
A case is a case, except for when it’s a box
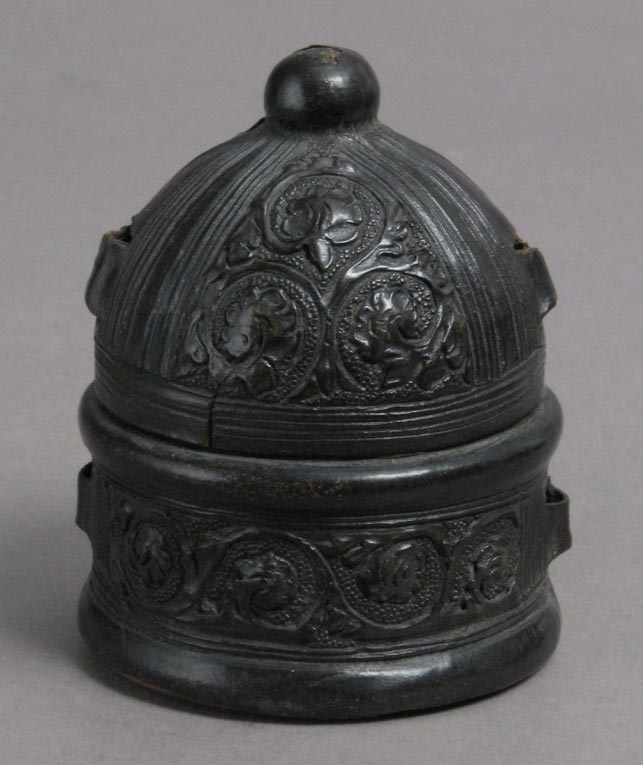
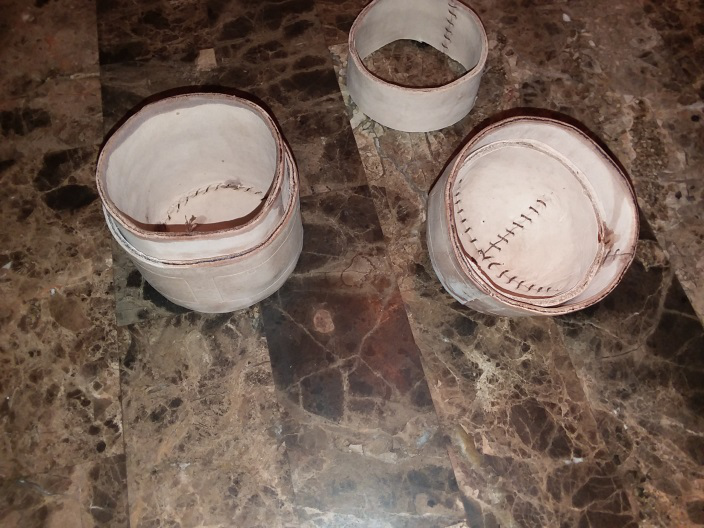
I’ve seen people reference cases as boxes (and vice versa) even in the Met Museum’s collection. Frequently. So what’s the big deal? What’s the difference? Generally a case was made to fit a specific piece or purpose. The piece on the left, for example is an extant example of an ink well. Cases would typically include the loops seen on the sides, so that a cord could be put through it and it could then be carried. A box, by contrast would typically not have the straps to carry it around.
Both containers would be laminated layers of thin (~2oz/.8mm) leather. Some instances of all leather cases feature as many as 4 layers in sequence – the first layer would be stitched around a mold, then the second glued to it in forming an inner liner. The third layer would be stitched over the existing piece, then the top (fourth) layer would be glued to it. This works incredibly well, and I’m pleased to say that I am seeing more people in the SCA attempt making cases. It’s a tricky process, but when it works out properly it gives a very nice period aesthetic.
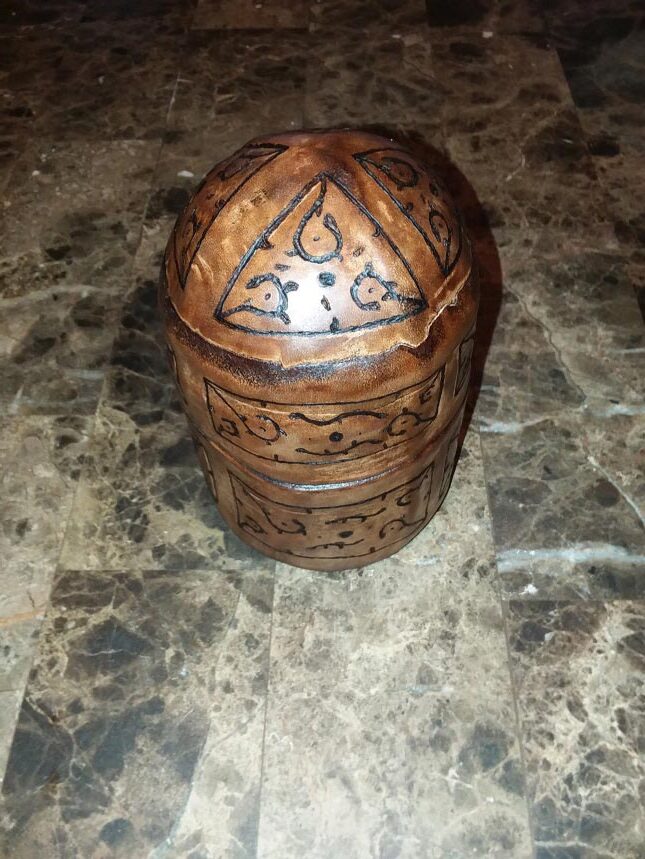
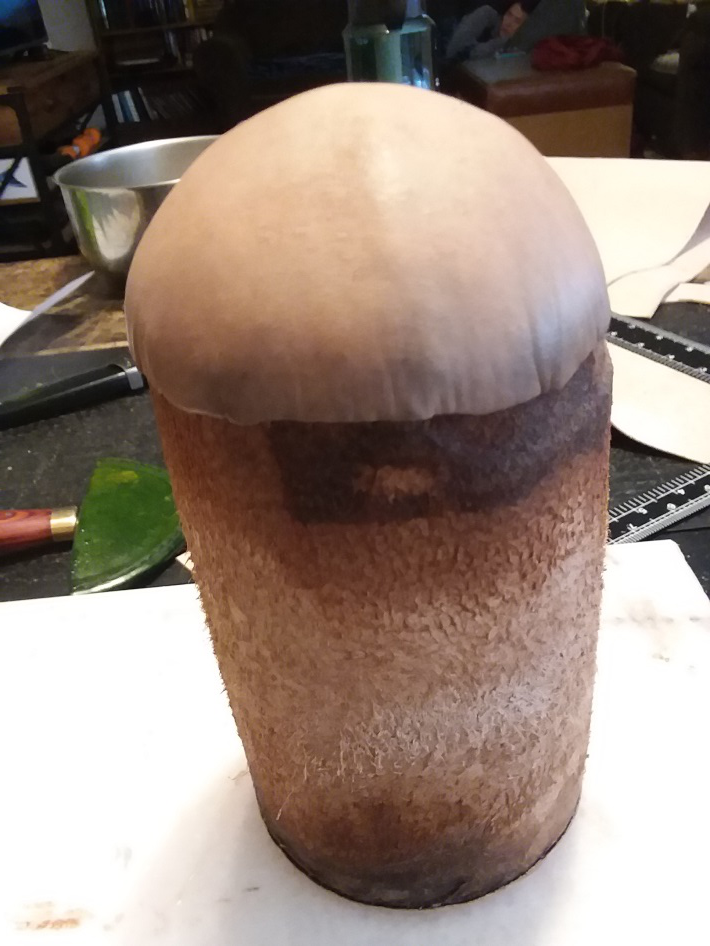
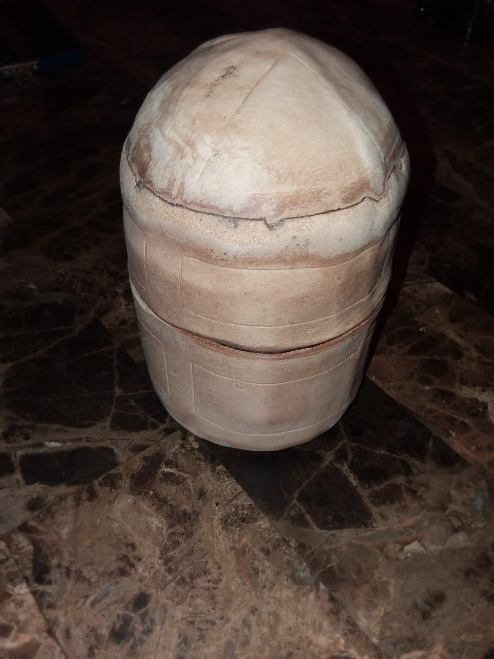
The other method of laminating cases, such as in this particular example, is to form the leather permanently over a wooden core. This is a much more solid method of construction, since you don’t actually have to cut the layers off of its’ mold, you simply have to make sure that the glue sets to the core and continue on with your work. I wanted to combine the two techniques – rounding off a laminated box, but not use the wooden core.
So why this piece?
I wanted to create something of a box that would be seated on a desk top, without the straps (intentionally) as a design consideration. I knew that molding the dome to the top would be a trickier task than I’ve attempted in the past, so I figured why not? You can certainly see in the completed piece where the solid core serves as an advantage, stretching and molding the leather on a piece without having to cut it off removes a great deal of difficulty in the finished piece.
Putting it together
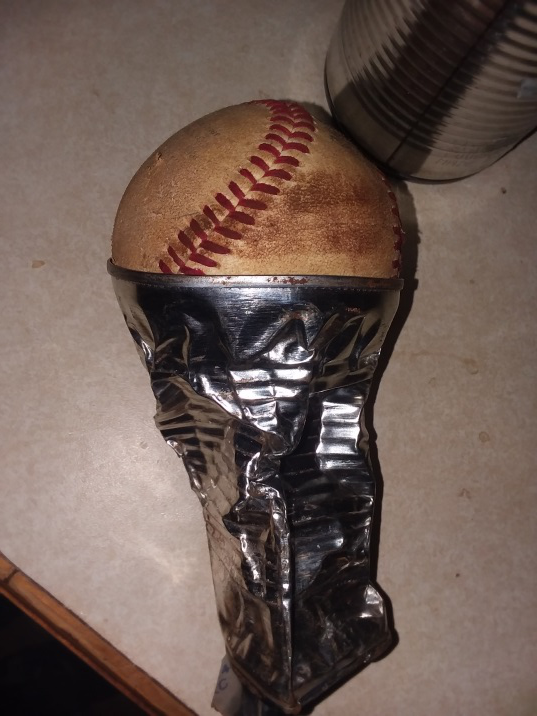
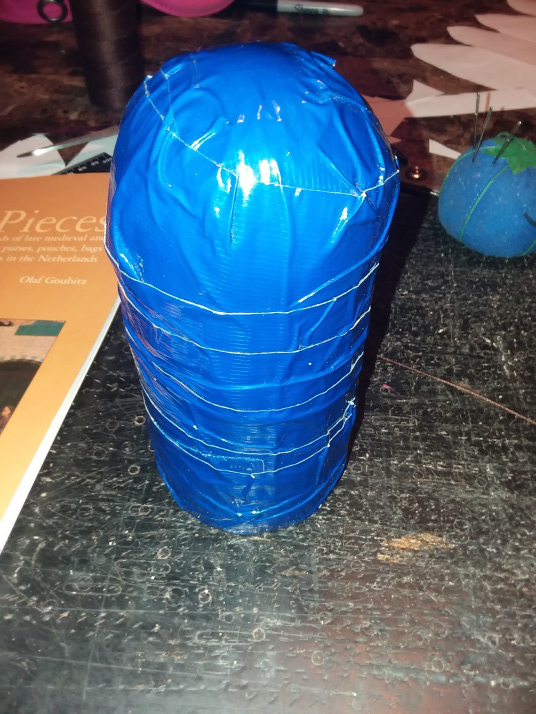
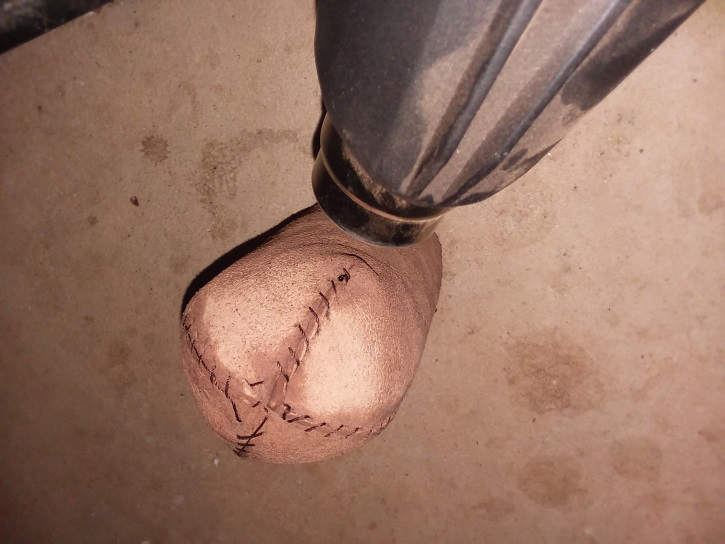
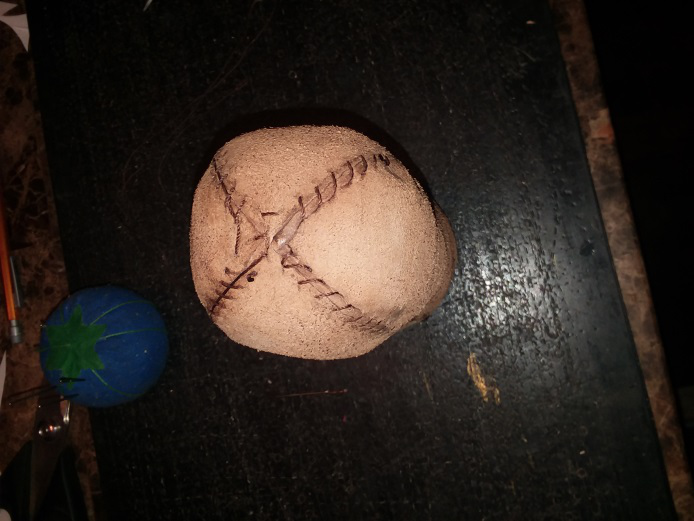
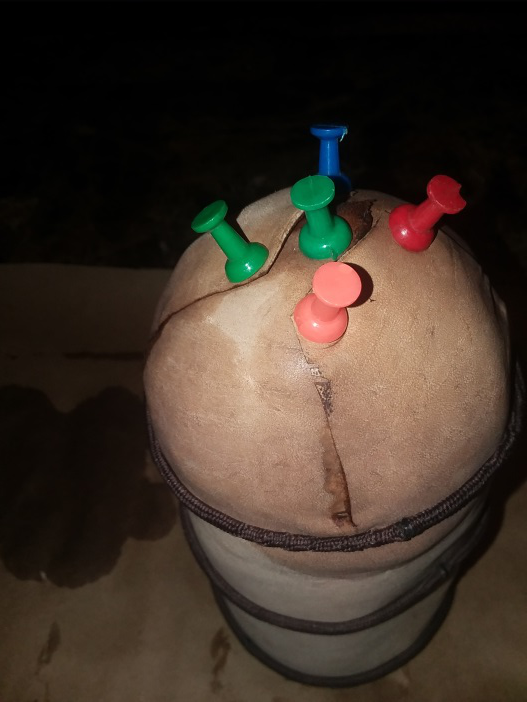
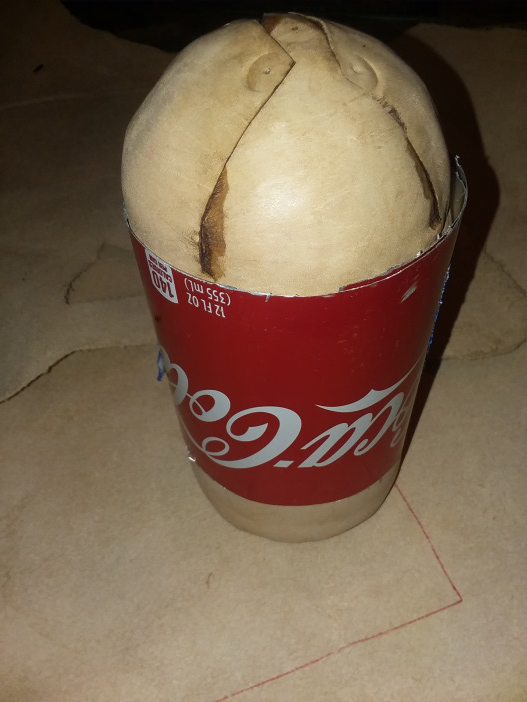
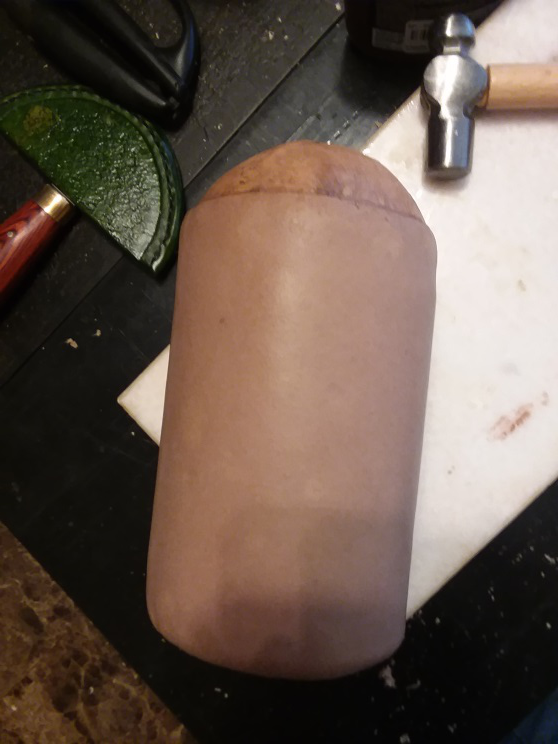
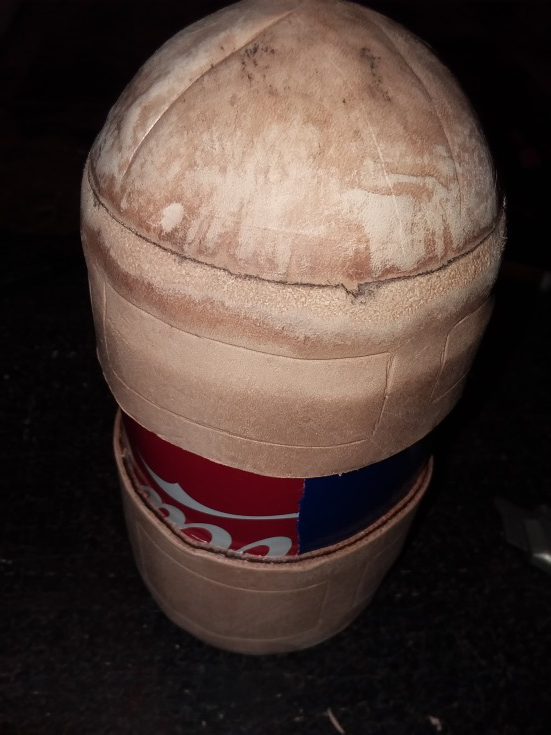
As mentioned earlier, I used a baseball and two veggie cans for my mold. I crushed the first can somewhat, hammering it into the shape of an ice cream cone – then inserting it into the other can. This helped the ball to not completely fall through into the can. This portion was to compensate for that very occurrence happening on the first attempt at getting the ball to sit still. After the cans were together, I then duct taped the pieces together so that they would be more firm to work with. I then stitched the first layer of leather over the mold, essentially stitching it into place while holding the mold. I hammered down the seams to make them flat, then glued on the second layer. Between the second and third layers, I cut down two Coke cans to help to more cleanly cut the layers apart later (a trick discovered after making my first couple rectangular cases). Then I stitched on the third layer, and glued the fourth layer in place.
In working with the top of the case, I used a petal-shaped design to the leather, skiving down the layers to fit as flat as possible. The top layer was being less cooperative, and much more messy while being glued, so I ended up hand-forming and stretching the leather itself over the top in a single piece. I then was able to get the outer solid piece wrapped around to mask the seam somewhat.
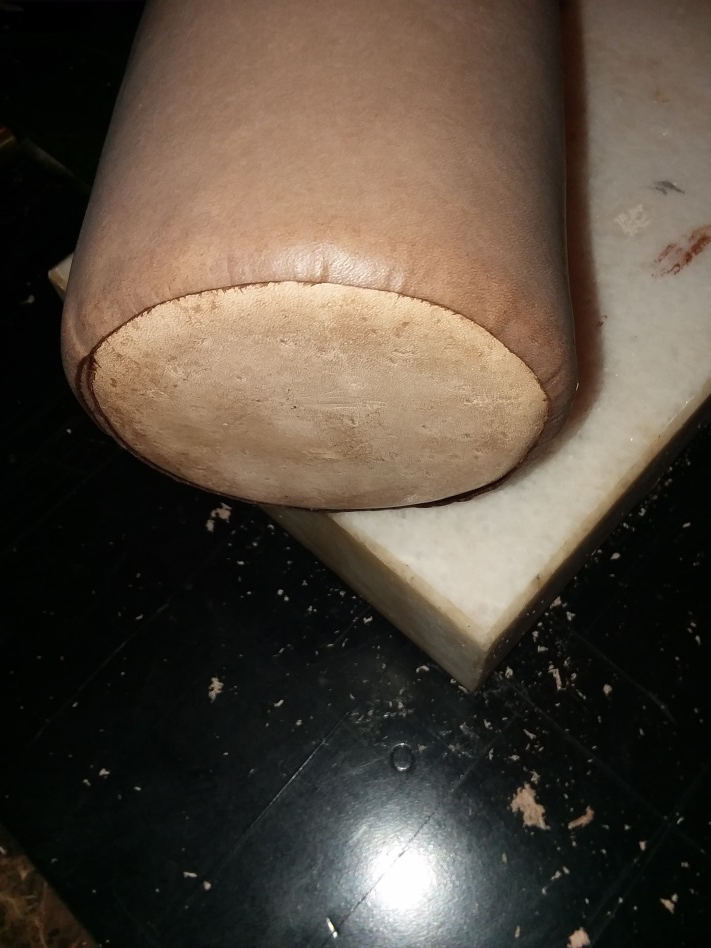
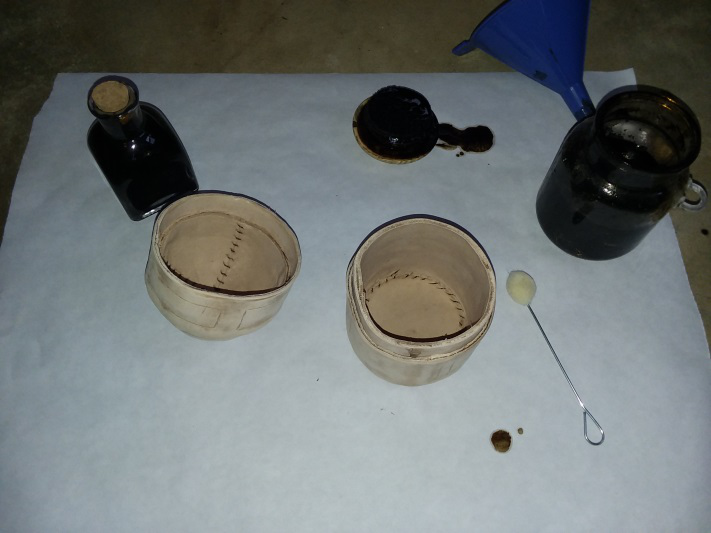
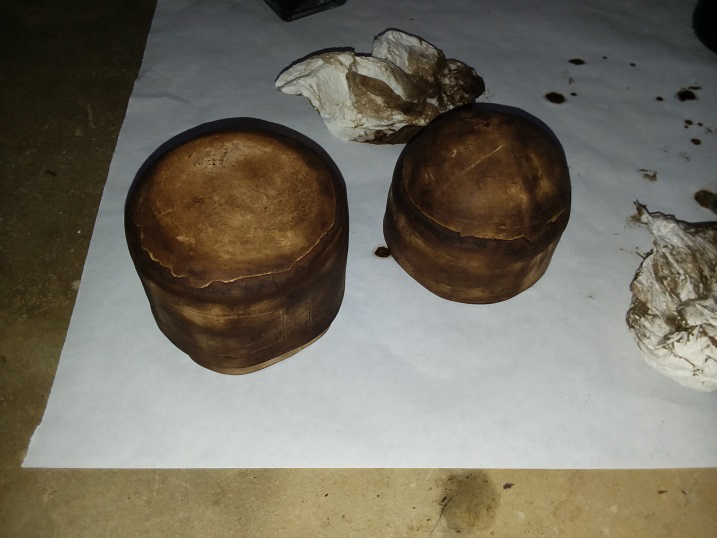
After the whole piece was set up, and the glue had fully cured, I cut the outer two layers from the mold and was able to wiggle the shell off. I then removed the pieces of aluminum can, and cut free the inner liner. I decided to trim back the pieces in order to reduce the height somewhat (it looked too much like a grain silo in full). After putting the halves together, I dyed with a home made nut husk dye that I had made and burned in a design free-hand (the leather itself was not able to be tooled well, since the mold wasn’t solid, so I improvised). Once everything was completed, I applied a beeswax and lanolin conditioner and buffed to a higher shine, using friction on the piece to give it its darker color (contrast to no-friction on the girdle purse on display).
Reflections on the process
This was certainly more difficult than applying the layers to a solid core. I won’t make that attempt again with a piece that requires the heavy curves like this one. I think it turns out looking much more refined on the core. I did enjoy getting the practice in with a piece such as this though, it pushed both my skills and my patience into a new direction.