Based on a 15th century cuir bouilli case
Project Completed December, 2014
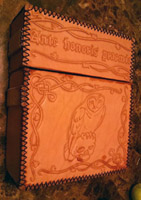
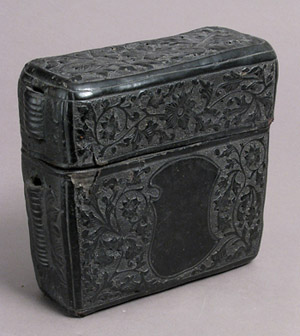
I came across the images of a 15th century book case that was done in hardened leather, and decided to try my hand at making one as well. The images that I discovered in the Met Museum displayed a great deal of intricate tooling that I once thought to be more modern, but clearly display the same knife cuts and texturing that we do in current pieces, better known as Sheridan in leather working circles.
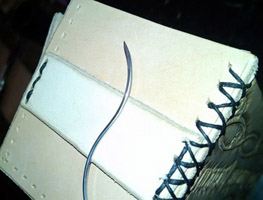
I was not able to find too many of the actual stitch lines in the images alone, but with the portions of leather that are breaking away from the piece (and the notations of cuir bouilli in the Met’s margins), I think that this piece was actually laminated over internal layers of thicker hardened leather. You are able to see single corner butt stitches in one of the images, showing how it’s assembled to an extent as well as the creation of a lip for the top to stabilize itself on.
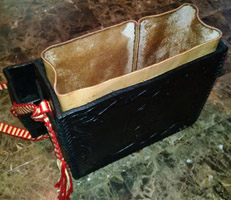
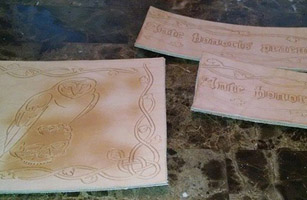
In creating a similar piece, I started off by cutting out all of my pieces separately to form a series of panels. It was my thought that creating it in the same manner as building a box would allow me a bit of brevity so that I could get some practice at angled box stitching. I kept the margins slim, so that the design would stay close to the edge, but in doing so I had to change my intent to an outside cross stitch during assembly. The internal liner is free-floating so that I might actually replace it with a drop-in insert at a later time, taking this particular case from an open design to a partitioned design so that I can transport my home made dyes without them getting jolted around during transportation.
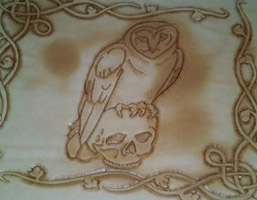
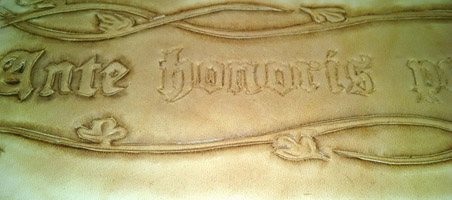
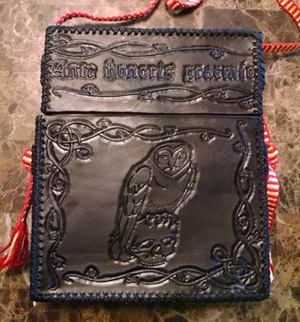
The tooling in the case itself was done in a process that was repeated for the front and back in order to attempt to mirror the design on each side. I did decide to keep the top, bottom and sides plain to compliment the minimalist tooling in my newly passed badge, using a knotted vine pattern to frame the piece and draw the eye in somewhat.
The tooling process itself consisted with beginning swivel knife cuts on the depression areas of the design, then using a beveler to get a decent amount of depth among the elements. Once I had definition laid out, I decided to forego texturing in order to keep with the minimalist flow of the piece, but did go back in with a modeling spoon and smooth out some areas and get a little crisper look to the corners of the design. I was able to utilize a “vinegar black” process that I made to finish off the piece. It was the first time that I’d used vinegar instead of commercial dyes, so I was quite pleased in the result.