Techniques and Materials Used
- Veg tanned cowhide, cut, tooled and molded
- Hide glue, beeswax/lanolin conditioner
- Hand stitching with waxed linen thread
- Home-made nut husk dye
A belt pouch, with a twist
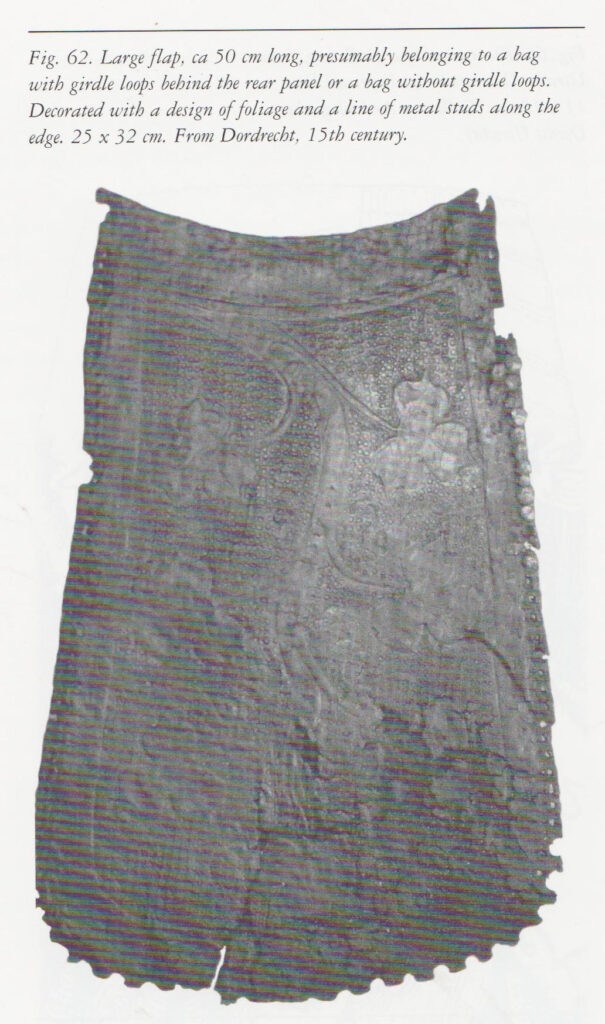
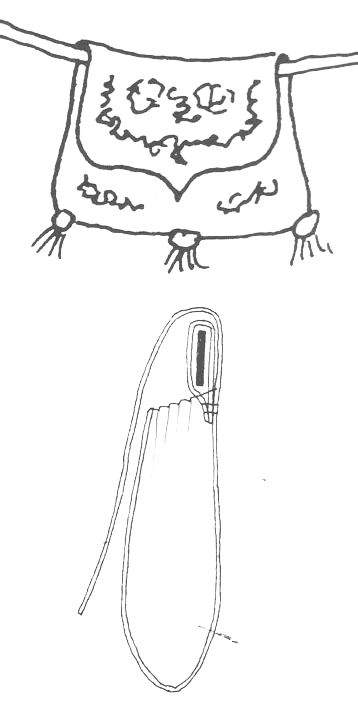
Girdle purses are what we more commonly refer to in the Society now as “Belt Pouches”. Where many of the implementations that we currently see involve some type of loop to go over the belt, they are typically seen as rather basic in shape, with a flap that has some type of closure and poof – we’re done. Depictions throughout many source pieces are not quite so standard though, varying in shape and size as well as materials that were used. In this particular case though, I found that I simply loved the overall profile of the depiction to the right, sketched after a piece by Lucas van Leyden (Goubitz, page 44).
So why this piece?
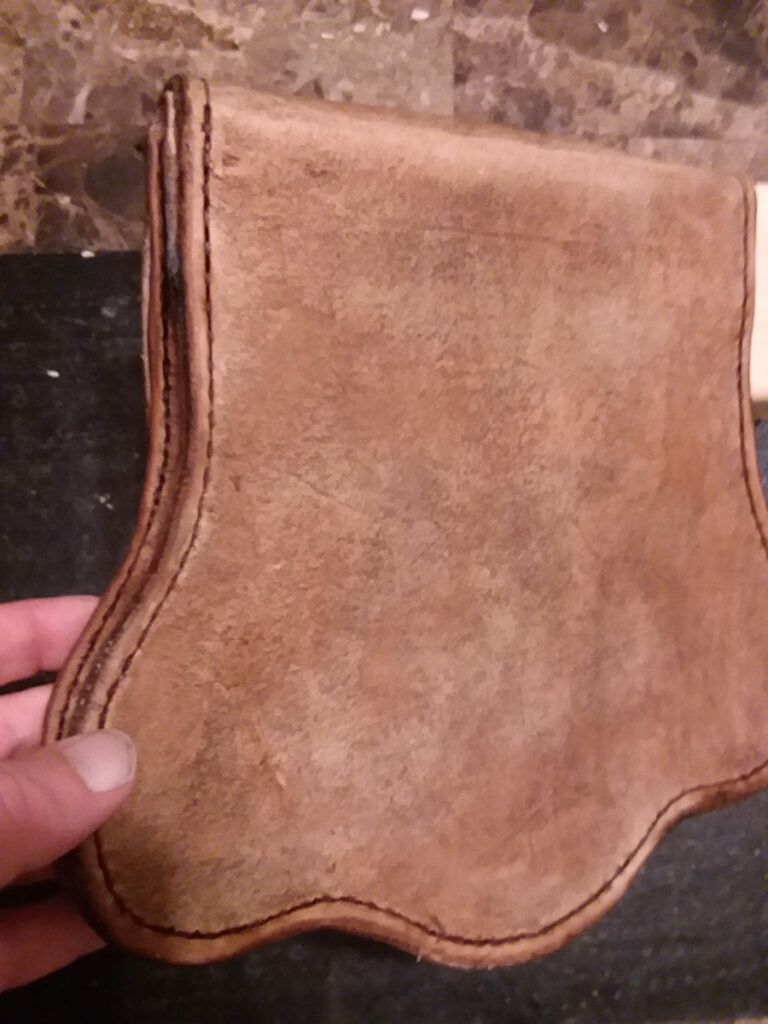
What’s interesting about this piece follows two parts for me. The first is that the profile doesn’t read as flat. It has subtle curves that leads the belief that this design was likely done in cloth (whereas the large flap included here is indeed tooled leather), which is far easier to smooth out corners when the piece is turned right side out.
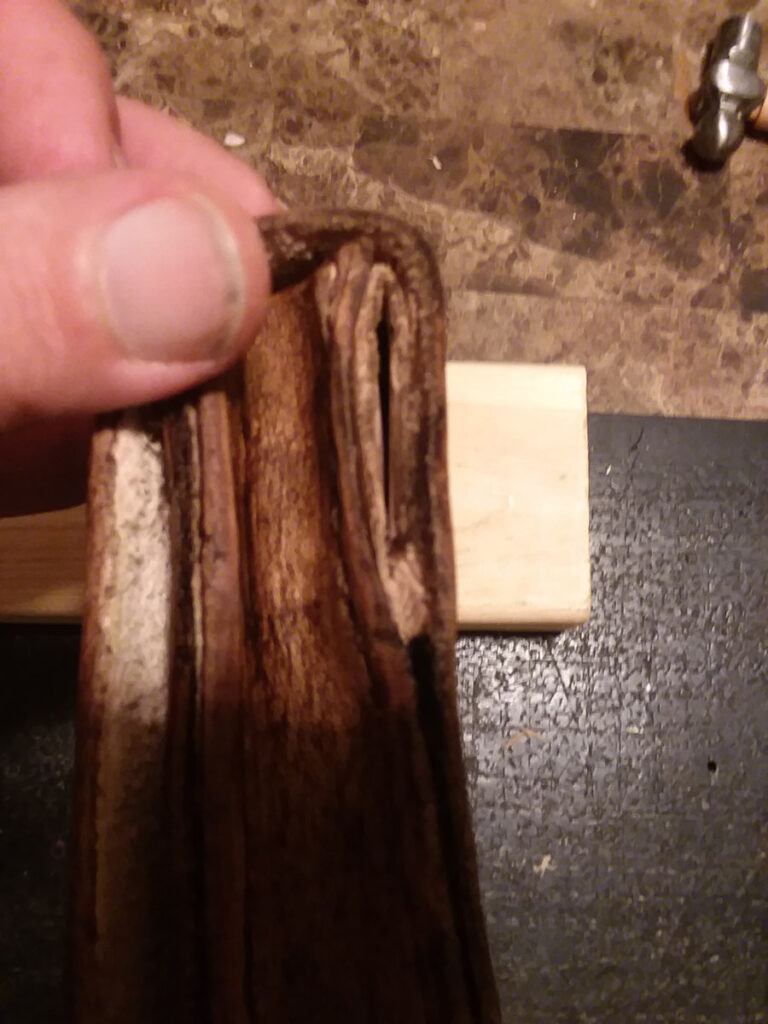
The other part that got my interest was that it is depicted as having no external loops, instead utilizing what Goubitz refers to as an “internal suspension loop”, where the loop itself follows the top edge of the purse. You can see in the cross section that it would likely have been pleated somewhat in order to afford more space to the inside of the bag, while maintaining the closure points. Additionally, there is less likelihood in this particular design for the elements impacting the contents of the pouch.
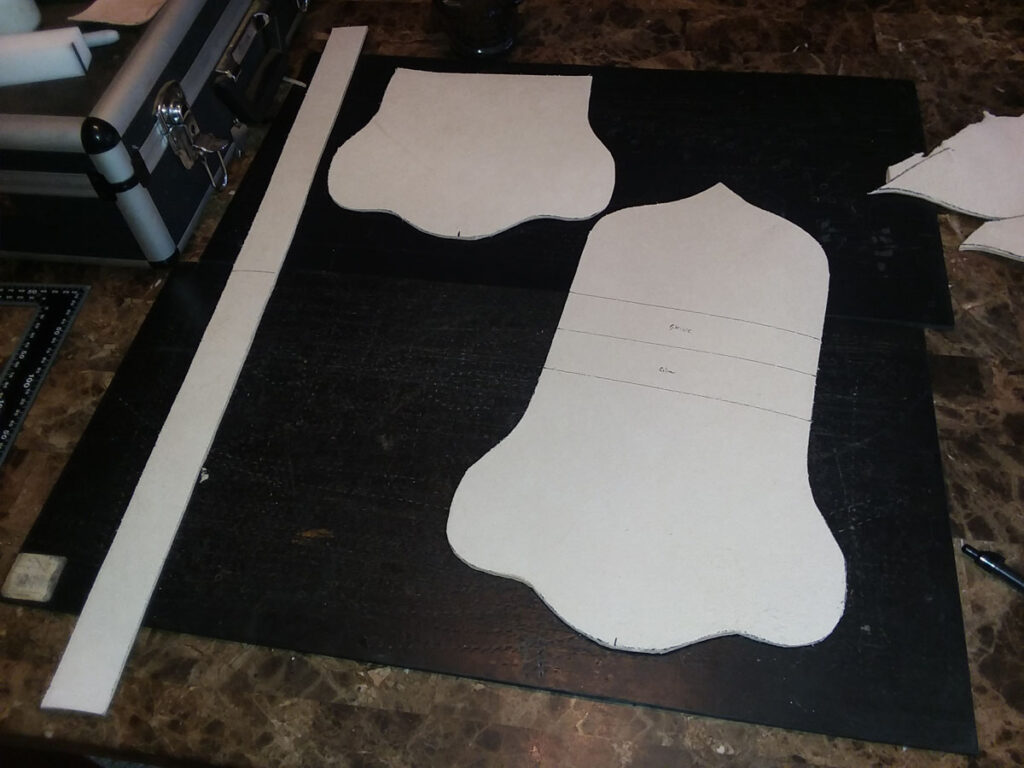
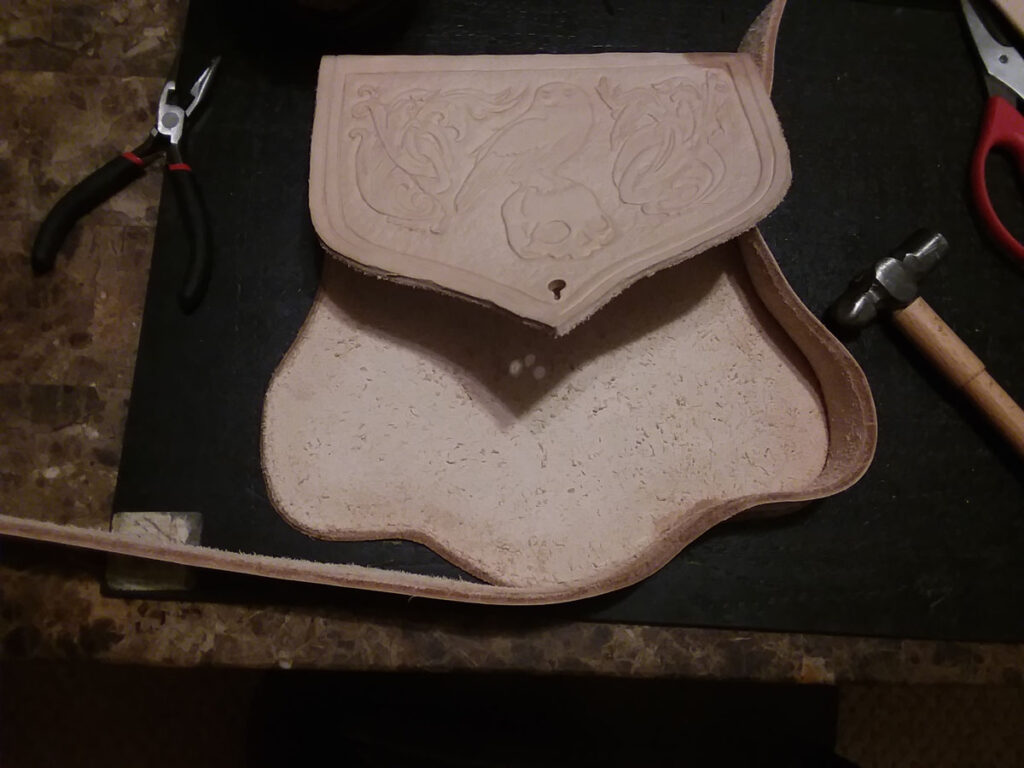
Putting it together
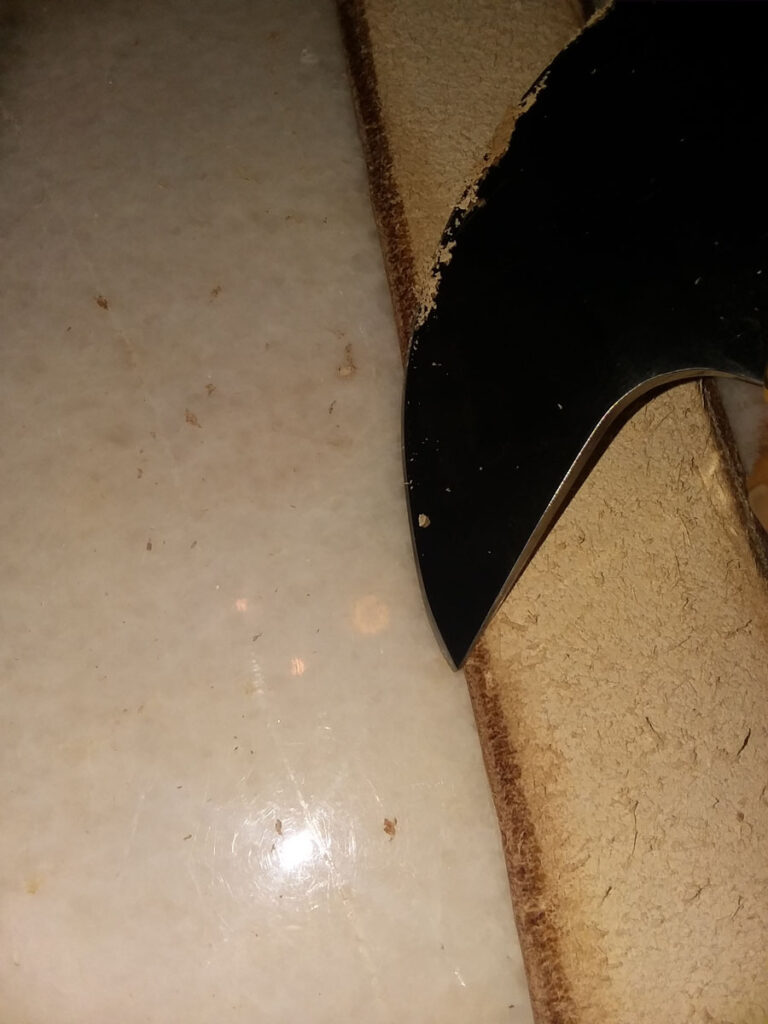
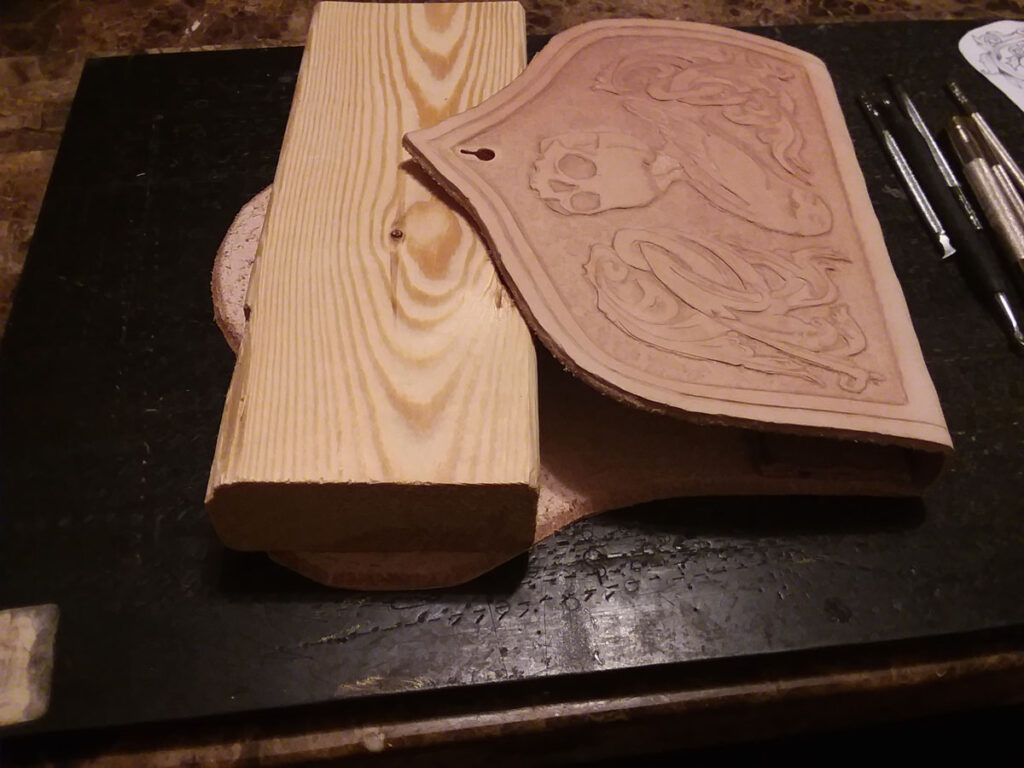
This was where things got interesting. I used a thicker ~10mm cut of cowhide, so there was some skiving along the edges that I would later sew in order to get a better fit. I took down the sewing edges to almost a 45 degree angle, then did the same for the bottom edge of the pouch. Before tooling, I sewed up the bottom edge of the internal loop, then glued it down with a hide glue. In modern work, I would likely have gone for a contact cement for this portion of the process, but opted to go for a more period medium for that portion.
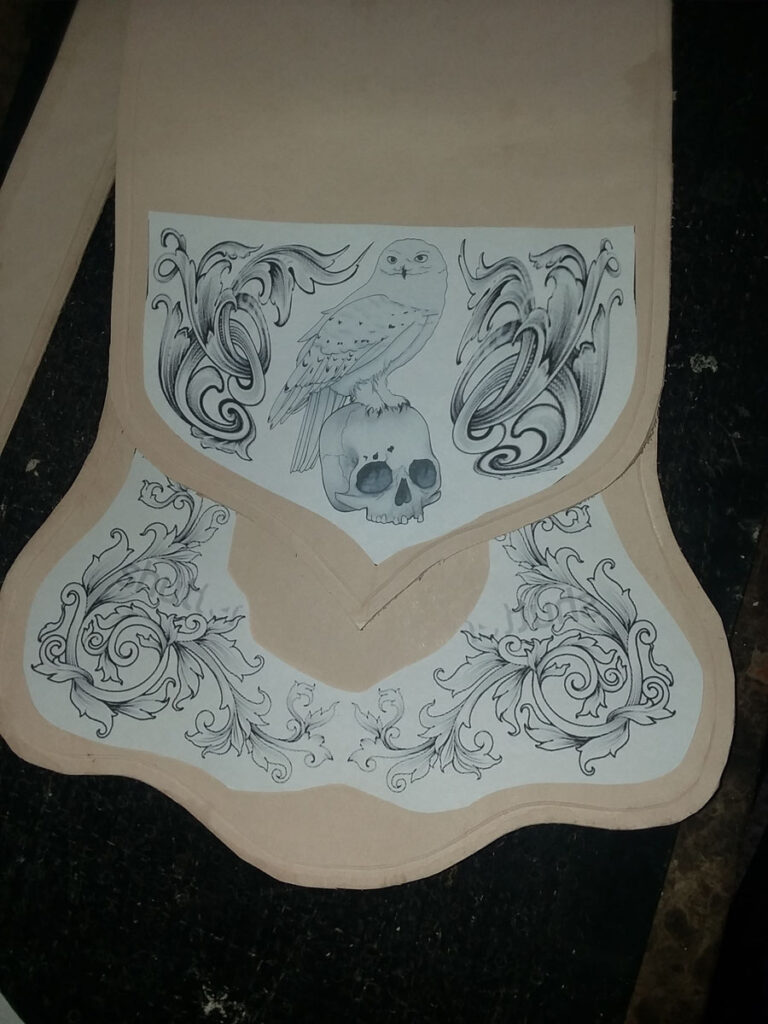
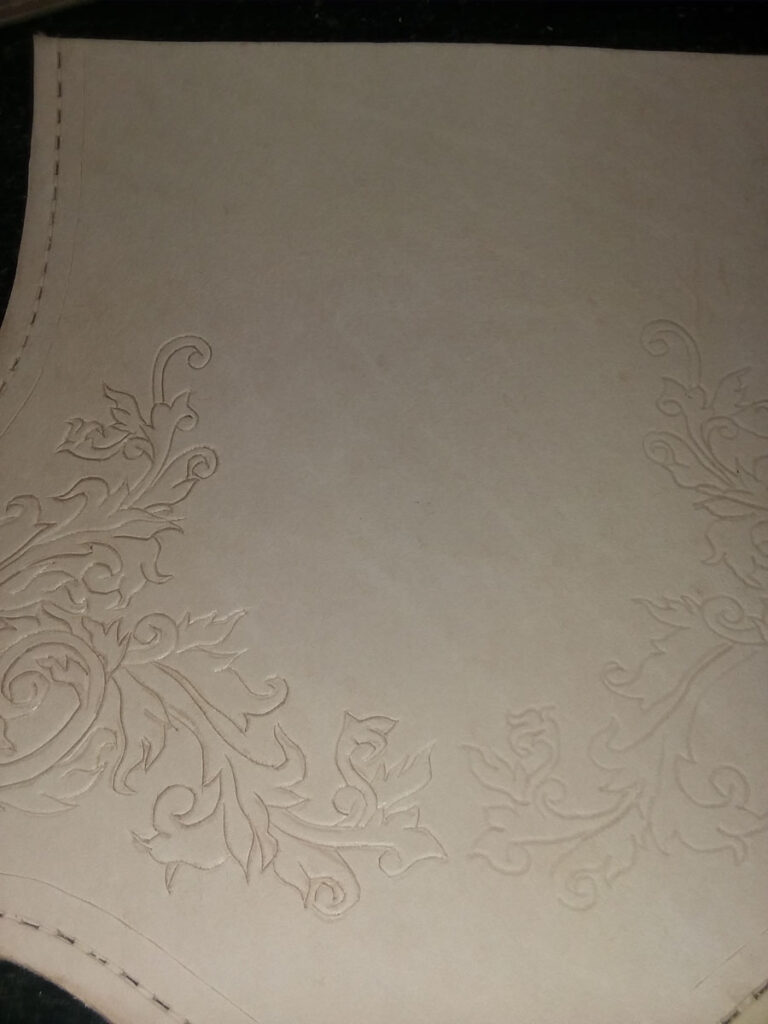
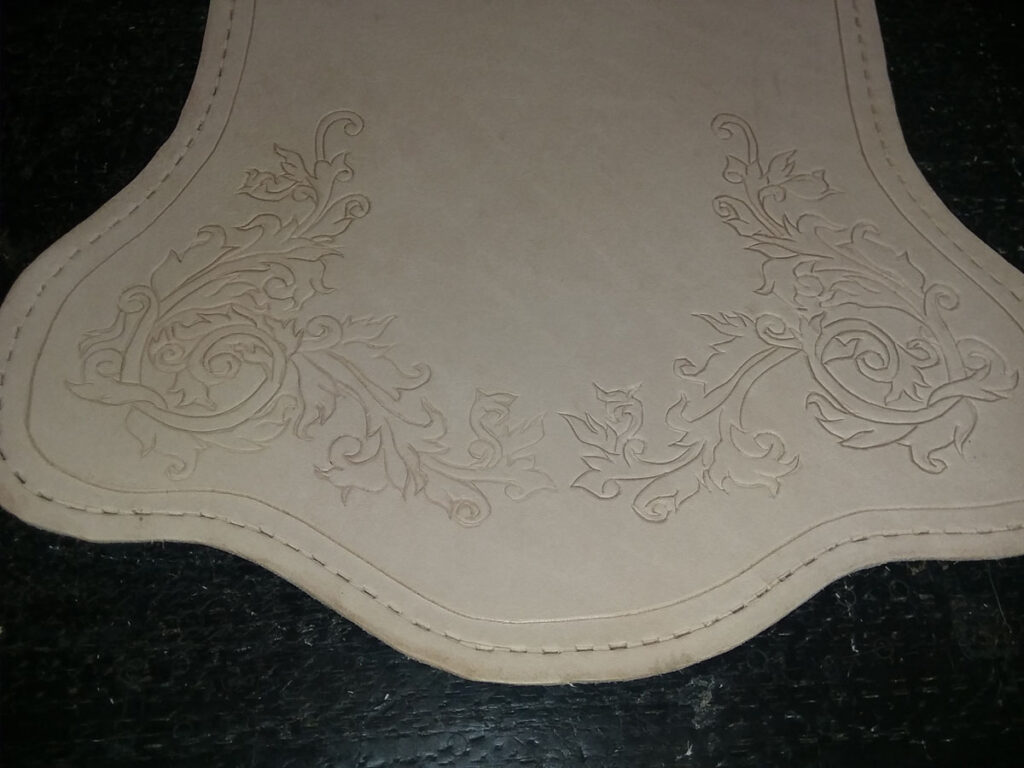
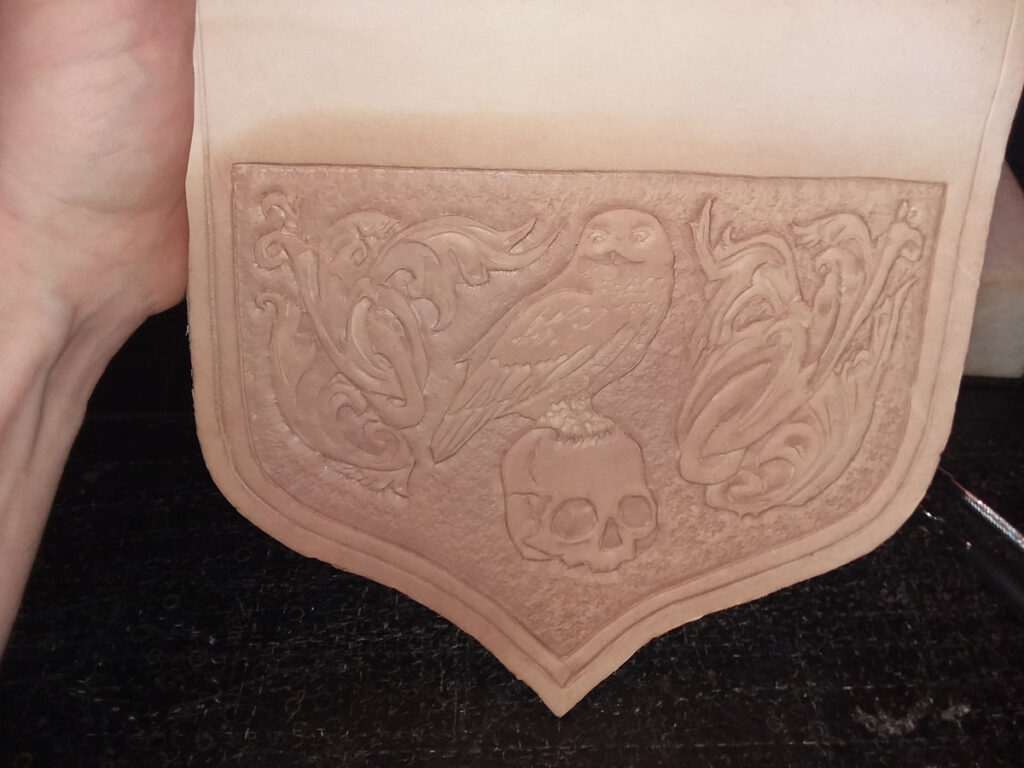
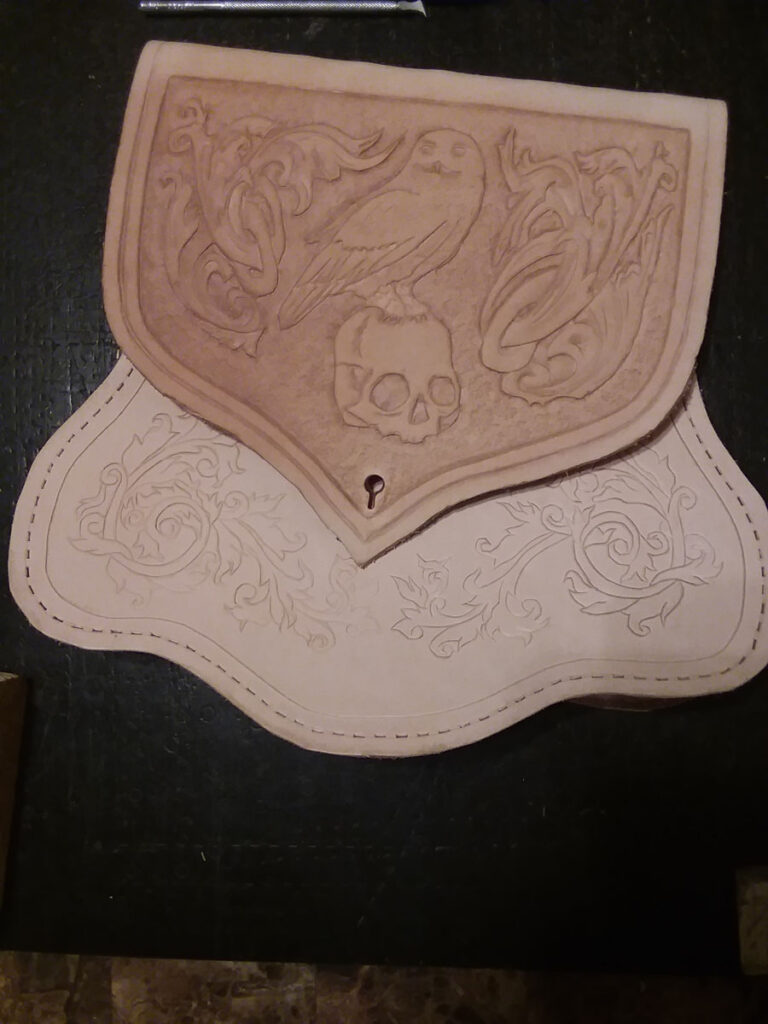
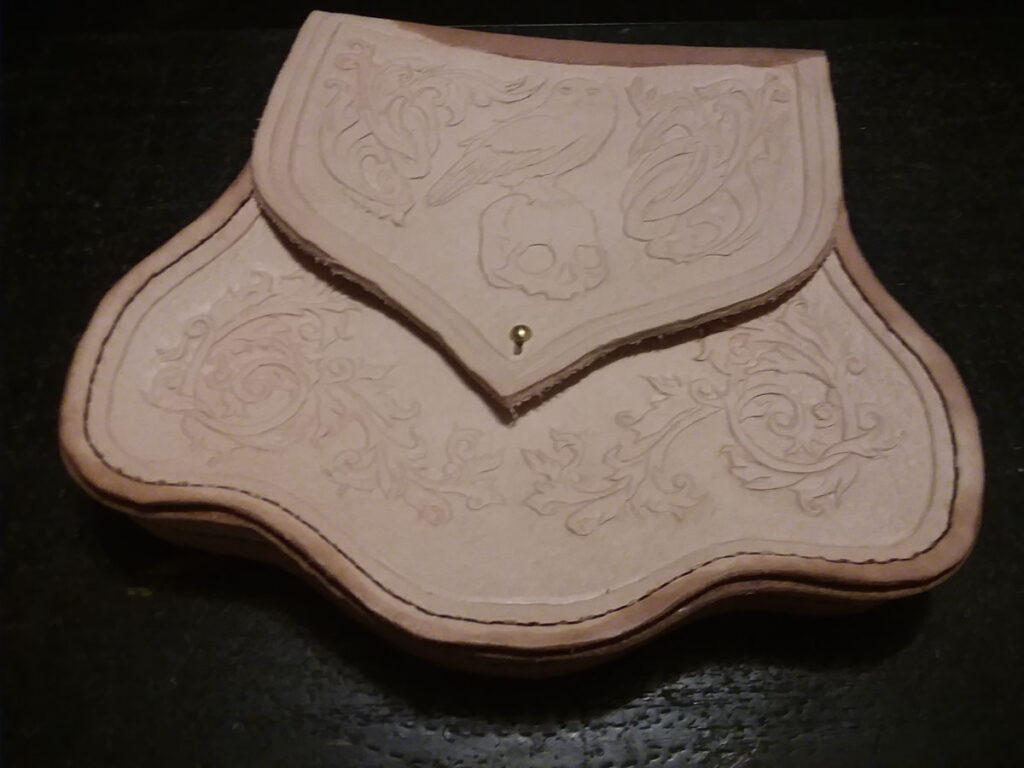
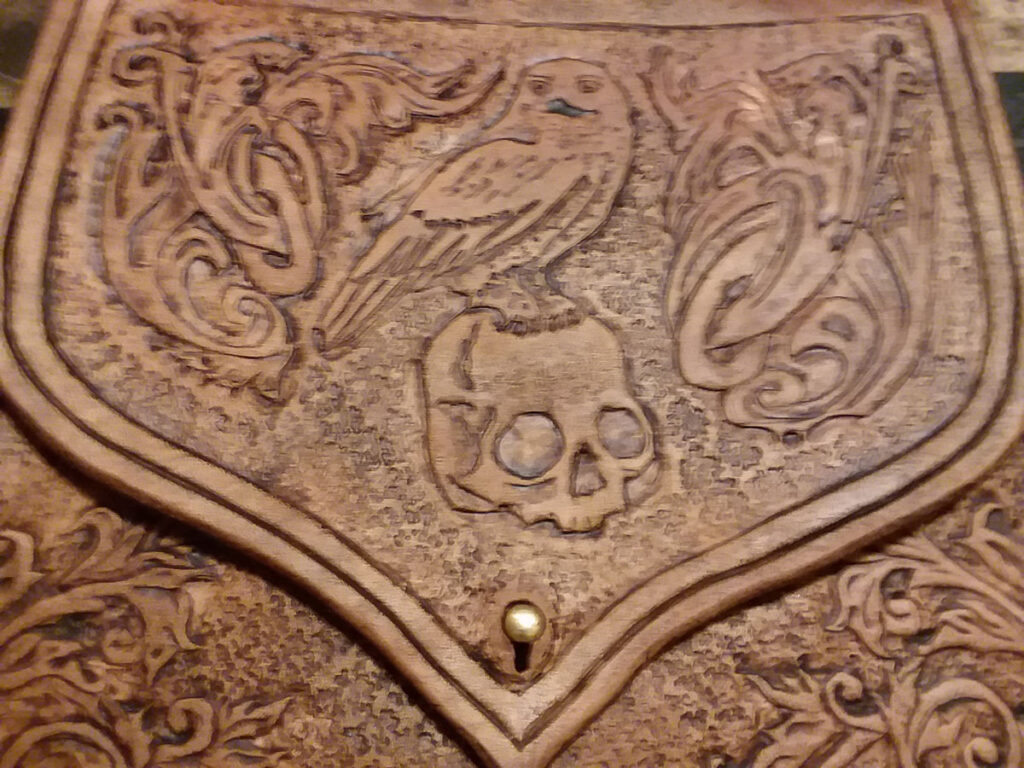
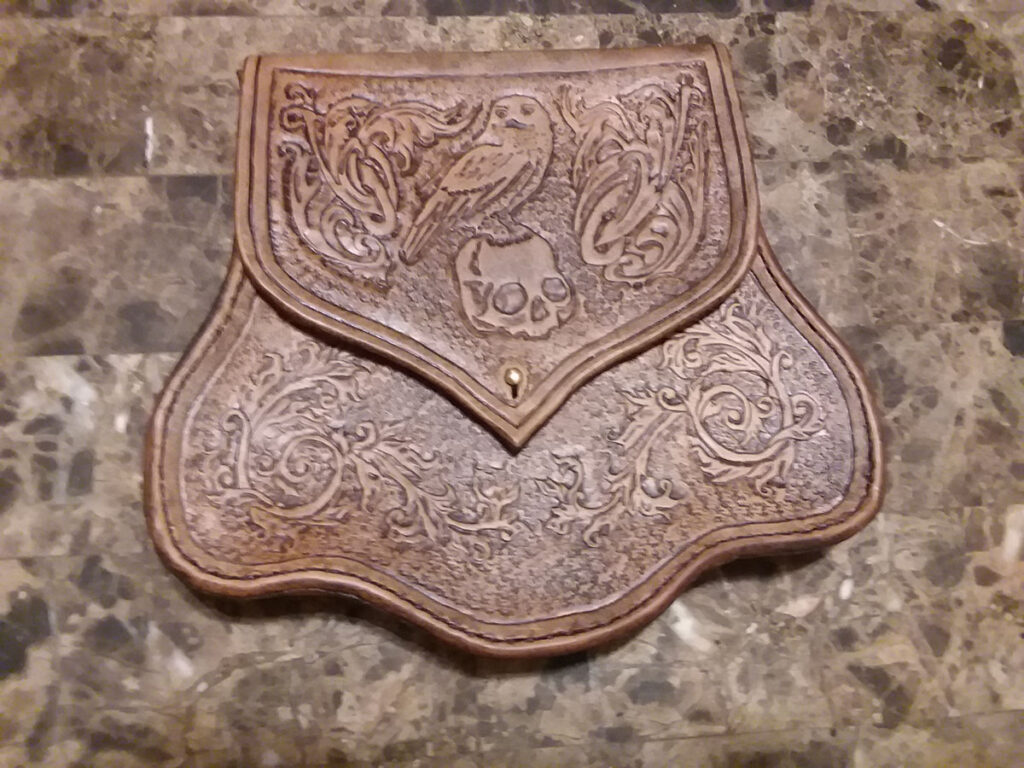
Once the glue had set, I began tooling the flap and front face of the pouch with a heraldic design accented by filigree work, commonly found within cases in period. Once the tooling process was completed, I glued the edges and saddle stitched them with the two needle technique before skiving and burnishing them. I also added a simple brass button stud, in order to help the flap stay down. I used a home-made dye that I created from nut husks as a finish to the piece, allowing it to accent the impressions somewhat. The piece was then sealed with a conditioner made of beeswax and lanolin. I then used large pop-sickle type sticks to stretch the internal loop to better accommodate my belt.
A step-by-step series of images follows in this document. Additional details on the tooling process, stitching, the dye used or for examples of extant pieces from museums is available in the binder here as an addendum.

Reflections on the process
There’s a reason that this style of girdle purse would have more likely been created from cloth instead of leather. While there are several examples of external stitching of leather (particularly for cases), the turned out seams would be much easier to replicate with cloth. I enjoy the outside stitching of this piece, and think that the edge work came out pretty well, but the seams themselves would certainly be much cleaner if they were internal.
I like the way that the back panel stays down for this style though, and I do think that there will be less bouncing with the pouch during normal use. The patterning will need a little refinement in my next attempt, but I really like the aesthetic that I finished with, particularly the different profile that it reads with.